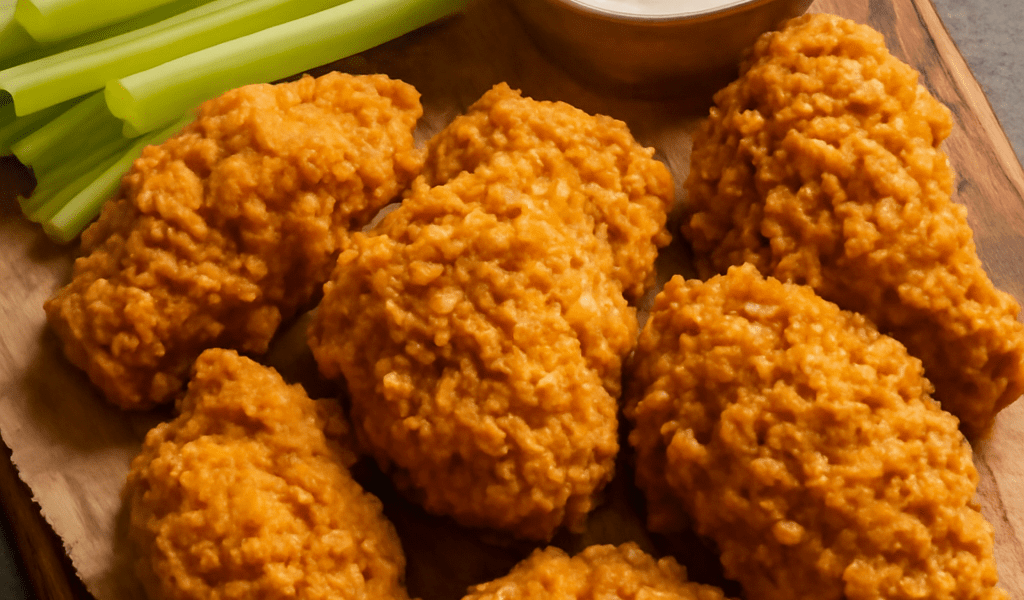
A crumb coating gives chicken wings a crunchy shell that holds seasoning; unbreaded wings rely on their skin for crispness and have a lighter surface. To coat wings evenly, dry them, add a thin layer of flour, dip them in beaten egg, and press on breadcrumbs before cooking.
The three-layer method makes a substantial crust without a thick blanket of flour. Bake the pieces on a rack with space between them, then serve sauce on the side if you want to preserve the crunch.
How to Bread Chicken Wings Step by Step
For about four servings, use 2 pounds of thawed, split wings. This method uses three shallow dishes and a rimmed baking sheet fitted with an oven-safe rack.
- 1/2 cup all-purpose flour
- 2 large eggs
- 1 tablespoon water
- 1 1/2 cups plain panko breadcrumbs
- 1 teaspoon garlic powder
- 1 teaspoon paprika
- 3/4 teaspoon salt
- 1/4 teaspoon black pepper
- Oil spray or a small amount of neutral oil for the rack and coating
- Set up. Heat the oven to 400°F. Oil the rack and set it over the baking sheet. Put flour in one dish. Beat the eggs with water in a second. Mix panko, garlic powder, paprika, salt, and pepper in the third.
- Dry and dredge. Pat the chicken dry with paper towels. Coat each piece lightly in flour and shake off the excess. A thin, even layer gives the egg something to cling to.
- Add egg. Dip each floured piece into the egg mixture, turning to cover it. Lift it out and let the excess drip back into the dish. Pools of egg can make the crumbs clump.
- Press on crumbs. Turn the piece in the seasoned panko, pressing gently so the crumbs stick. Set it on the rack, leaving space around each wing. Use one hand for dry ingredients and the other for egg to limit sticky fingers.
- Bake and check. Lightly spray or brush the coating with oil. Bake for roughly 35 to 45 minutes, turning carefully halfway through, until browned and cooked through. Check several pieces with a food thermometer in the thickest meat without touching bone. Poultry must reach at least 165°F, according to the USDA. Larger pieces may need longer.
- Serve. Move the wings to a clean plate with clean tongs. Let them sit briefly, then serve with dipping sauce and cut vegetables.
Discard leftover flour, egg, and crumbs that touched raw chicken. Wash hands, dishes, and work surfaces with soap and water. If you need more coating, add it from a separate clean supply instead of returning contaminated crumbs to the package.
Why the Layers Stick
Knowing how to bread chicken wings starts with the layers: flour gives the egg a dry surface to grip. The egg then carries the breadcrumbs, and a gentle press brings them into contact with the wing. To bread chicken wings successfully, avoid thick patches at each stage: excess flour can form a pasty layer, while excess egg can loosen the crumb covering.
For breaded chicken wings with an even finish, work one piece at a time and turn it to reach creases. If crumbs collect in damp clumps, remove the clumps and add fresh crumbs from the clean supply. A rack keeps the underside above the pan and lets heat reach more of the surface.
When learning how to make breaded chicken wings, allow a little room on the sheet. Pieces pressed together trap moisture and leave pale spots where their coatings touch. Use a second pan if necessary, rotating the pans during baking if your oven heats unevenly.
Choose the Coating You Want
Chicken wings in a panko coating have a coarse, airy crunch. Fine dry breadcrumbs make a closer, more uniform crust and can be substituted in the same amount. Season either kind before coating so the flavor is distributed across the batch. Garlic powder and paprika are a starting combination; dried herbs or black pepper can change the flavor without adding another step.
To make chicken wings with a breaded crust that is thinner, use flour and egg with a light dusting of fine crumbs. For chicken wings with a more textured breadcrumb shell, press on panko and avoid crushing it into powder. One coat is enough for this method; a second dip adds thickness and can make the outside brown before the center is ready.
If you need a coating without wheat, choose gluten-free flour and breadcrumbs, and check seasoning labels. The size and texture of alternative crumbs vary, so use enough to cover the pieces evenly and watch their color as they bake.
Breaded or Unbreaded: Which Fits Your Meal?
Breaded chicken wings give you a crisp layer that can carry herbs and spices. They need extra ingredients and a little more preparation, but they pair well with dips served alongside. Chicken wings coated in breadcrumbs also soften faster when tossed in sauce, so coat only the portion you plan to eat immediately.
Unbreaded wings have no crumb layer to detach and can be tossed with sauce more freely. Their crispness depends on the skin, cooking method, and how dry the surface is. Choose them when you want a lighter exterior or a generous sauce coating; choose a crumbed chicken wing when the crunchy shell is the main attraction.
Fix a Loose or Soggy Coating
If the coating slides off, look for a wet surface or thick flour underneath. To prepare wings with breading that holds, pat them dry, shake off extra flour, and let excess egg drip away before pressing on crumbs. Turn them with a thin spatula or tongs only after the coating has started to set.
If the underside of your breadcrumb-coated chicken wings is soft, check whether the pieces were crowded or resting in their juices. Next time, give each wing space on an oiled rack and use a light coating of oil. If crumbs darken before the meat reaches 165°F, lower the oven temperature, continue cooking, and check again with the thermometer.